Showing posts with label kitchen. Show all posts

Sunday, September 4, 2011

Lighten Up

When we took out a wall in the kitchen to make room for a counter-height bar, we didn't consider that we would have a color transition problem between the living room and kitchen.  We looked at that space for a long time, debating between putting a transition trim piece down the wall or simply letting the colors overlap.  After a long time of staring and talking, I looked at the living and decided, "There's too much brown in this room."  It's true.  From the wood crown molding, walnut floors, and stone fireplace, the brown paper bag color on the walls just made it feel like . . . we were in a brown paper bag. 

A (yellow) light clicked in my head.  "Let's paint the living room the same color as the kitchen!  That would solve the color transition problem."  We were set on this idea, but a took a long time for us to finally buy the paint and find the time to do it.  Even though I wasn't thrilled about repainting a room we painted when we moved in, I was excited about the contrast it would create and the brightness it would bring out. 

Beginning the first coat. 

Fireplace side. 

Color transition problem gone. 

Final coat.  I love the contrast! 

Now that the walls are brighter, I feel the need to add some wall art to decorate them.  We'll finally put up our pictures that have been sitting in storage or on the mantle.  I'll also be heading to a couple of antique stores in town in hopes of finding something rustic, like a piece of curved wrought iron or stone. 

Saturday, December 11, 2010

Shed Some Light

As promised, we have been busy with projects during this break time for Trey.  The first project we did this weekend was install recessed lighting in the kitchen.  We had always planned for this to be part of the kitchen, so we've been only using a small hanging light bulb to light up the whole kitchen.  We also took advantage of a visit from Trey's brother to help us with this project.  We decided to go with a 6" flush fluorescent clear light with white trim.  We put 10 of these lights in the kitchen and plan to put 2 above the fireplace later on.  But those are the logistics, now for the pictures!

Making holes for the lights above the bar.  Brother-in-law is stuck in the attic. 

Trey wiring the lights. 

Poor guy, he was there a long time.

Half-way done!

The finished product, cleaning up after the mess. 

We also installed a ceiling fan in the living room.  I chose an inverted frosted glass bowl with walnut blades and a rusted bronze finish.  The fan also comes with a remote, and the light dims into several levels.  It looks great! 


It looks great with the Christmas decorations. 

Things are starting to look a lot brighter around here . . .

Sunday, December 5, 2010

Decking the Halls

 This past week we decorated Home Sweet PROJECT Home for Christmas.  It's such an exciting thing for us to decorate this house that means so much to us already.  I can't believe that this time last year we were in the 30-day timeline to close on the house.  

We began with the tree.  We actually bought our tree and ornaments last year, and I wanted to have an all white and silver tree.  So we got a pre-lit LED tree with a bulk of plastic silver ornaments (because Roscoe and Missy's tails like to to knock off the ornaments).  And we topped it off with a silver star and a white tree skirt.  

The cats keep trying to make the tree skirt their bed.  Better put some presents under there fast. 

We also got a new ornament this year to commemorate the first Christmas in our new home: 


And I was so excited to able to put our stockings on our fireplace mantle this year.  Our stockings are meant to coordinate, kind of match and kind of not.  And they look so great on the fireplace, which is being used a lot! 

I think next year I will need to get some type of garland decoration to go around the mantle. 

And then we have several small things throughout the house, so it feels like Christmas everywhere you look.  

Ceramic light-up nativity scene on the bookshelf with Christmas tree and snowman candles. 
Christmas tree floormat and towels on the oven handle. 
And thanks to a generous offer from Shutterfly in collaboration with Blogger, we were able to get our Christmas cards done for free!  I love the personalization and the beautiful design of their cards.  We took our picture in front of the Christmas tree and put it in a gorgeous lace-detailed template.  See below for our picture and more information about the offer from Shutterfly. 

Vintage Lace Frame Christmas Card
Shop Shutterfly.com for elegant Christmas photo cards.
View the entire collection of cards.

Merry Christmas from all of us here at Home Sweet PROJECT Home!  

Tuesday, April 6, 2010

Catching Up

Wow! I can't believe it's been a month since my last post! But between taking some out of town trips (one for vacation, one for work) and being without internet connection at the new house (That's right! We're moved in!), this is the first chance I've had to post.

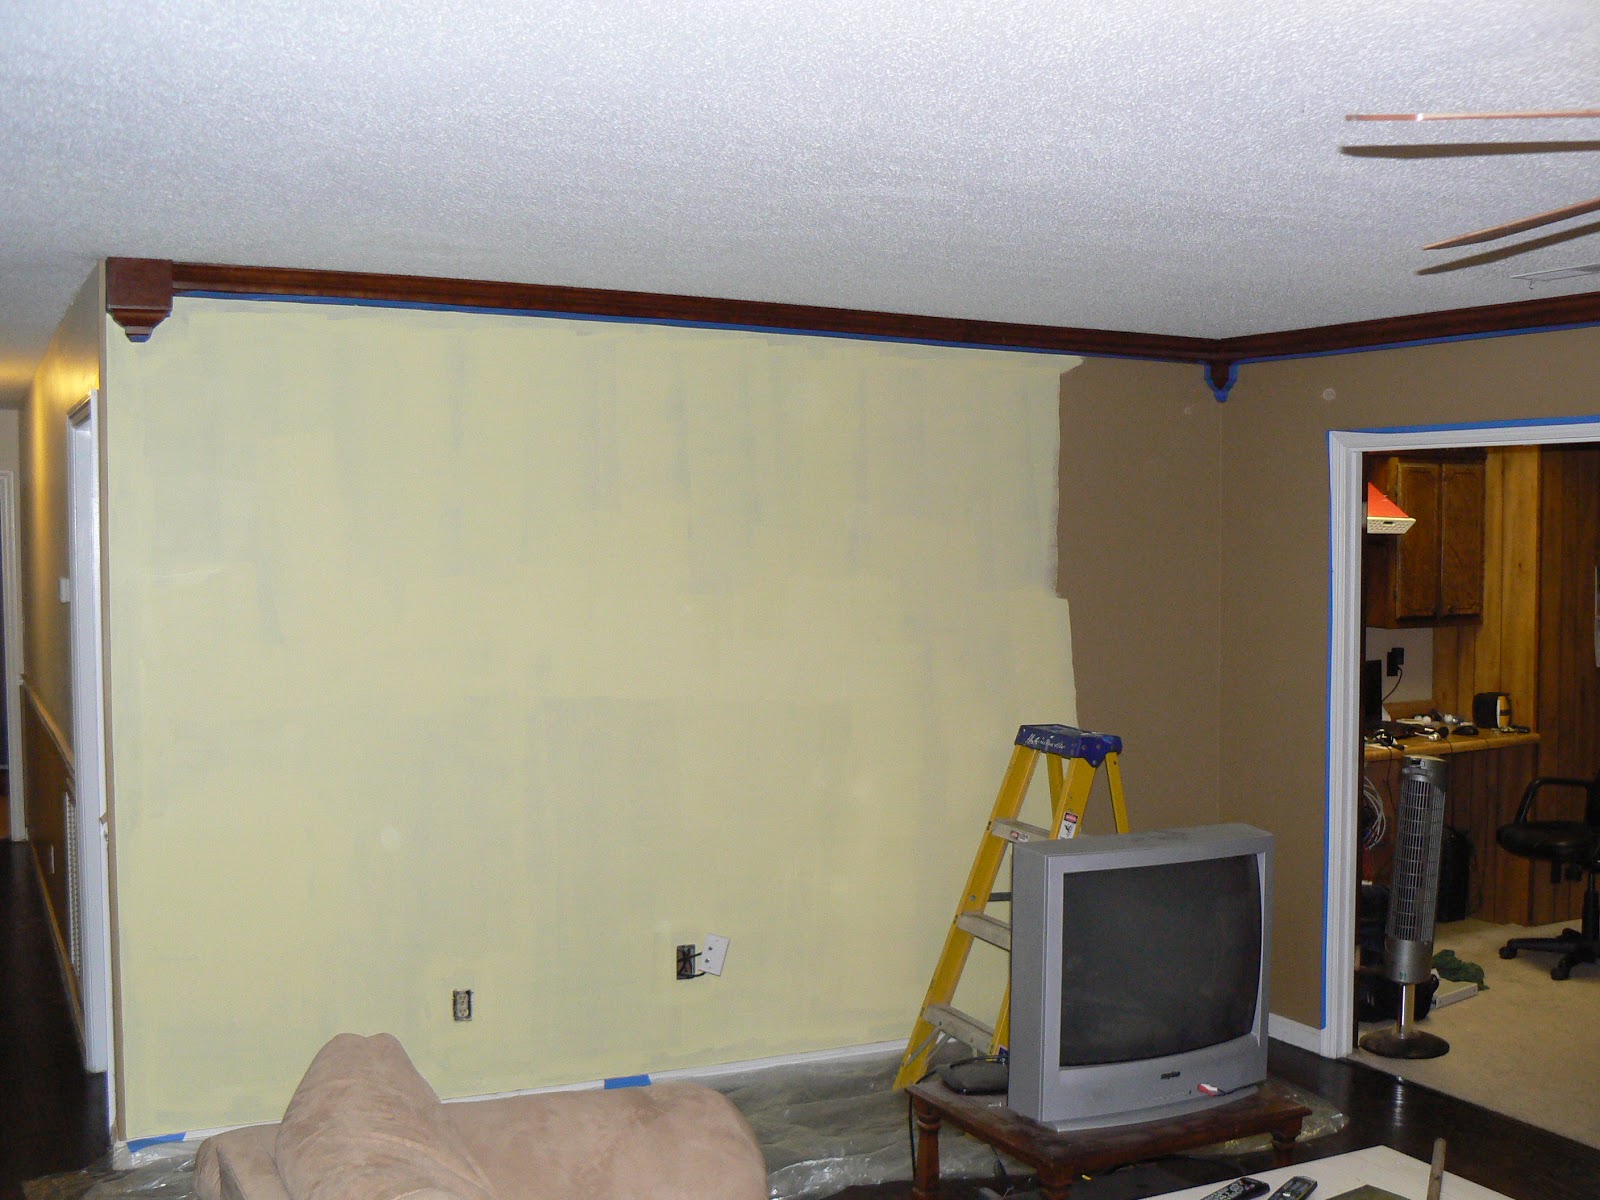
And oh, how much has happened this last month! First of all, hubby painted the kitchen the pale lemon color we selected:


And our cabinets were installed!  We actually decided to go with the antique white colored cabinets after all.  The cabinet shop doesn't have a showroom, so when we first saw the color in not-so-great lighting we were not very impressed.  But once we got to see them in a good light up next to some floor samples, we warmed up to the color.  We decided it would fit better with the contrasting color theme we were going with.  After we finally decided on cabinet color, we chose our counter top color which is called Labrador.  Hubby asked me if I picked that because I'm a dog lover.  LOL!  But it really was the perfect color with our cabinet and floor choices.  It was the perfect combination of blacks, greens, and creams.  We also decided to go with flat black knobs for our hardware, nothing crazy. 


We found a pretty sweet deal on a sink at a salvage store in Chattanooga, TN.  This lovely 4-hole, 8-inch deep dual sink was a pretty $60!  Compared to $110 at your big chain hardware store, I was quite pleased.  The faucet is a beautiful, high curved stainless steel with hot/cold taps with a side sprayer, with a nice tag of $98. 


We got all of our appliances from a huge sale at Sear's last weekend.  They were advertising 15% off of all appliances with an additional 10% off if you used your Sear's card.  Needless to say, we helped my parents gain some major points on their card while we saved 25% on our appliances.


And finally, the floors.  We also found these floors at the salvage store for less than a dollar a square foot.  We made the decision a while ago to go with laminate floors because of their durability and anti-dog/cat-claw-scratching abilities.  But I wanted to be sure that we got a nice, quality laminate that would be both appealing and enduring.  We found this plank, walnut laminate that had pretty grooves that went with the grains.  It comes with a 30-year warranty and is fairly easy to clean with a dust mop.  I really like the wide planks because it makes the rooms seem so much bigger.  The animals are still getting used to them, though, especially when they try to peel out.


P.S.  My sweet husband and my parents surprised me after I got back from my work trip with the bar stools that I wanted.  X-back, counter height, black stools from Target.  Until we find a new dining set, this is where hubby and I are having meals together (minus the cat).


That's it for now.  Now that we're living here and I have internet access, I'll try to post more frequently.  As long as the cats get out of my lap so I can use the computer.  *meow?*

Saturday, March 6, 2010

Thinking Inside the Box

Within 2 weeks our kitchen has been completely gutted and new sheet rock has been installed. Once the old cabinets were taken out, we found that all of the water damage and mold had infiltrated the insulation behind the wall. Also, a lot of the wiring needed to be changed to simply make sense (sometimes you would have to walk across the room to turn on a light) and to coordinate with our new kitchen design. So, our kitchen has been completely redone from the inside out.


Completely gutted.


New sheet rock.

Next week starts the exciting part because we get to order cabinets and start to put things back together. We already have a new fridge that's taking up room in the mudroom for the moment. Once the kitchen is done we will actually move in and continue working on the house from the inside.

Saturday, February 27, 2010

Opening Up

This week we had a wall removed that will open up the kitchen and the living room. Hubby also continued to removed the drywall that needed to be removed before new drywall could replace it. So, now we have a completely empty kitchen minus the left wall of the pantry, which was helping to support the roof. Hubby fixed that today so that we could take out the rest of that wall. We're saving that for family that's coming into town who want to take part in some demo. Can't say I blame them. ;-) Now our kitchen is a blank canvas.


Today we went and had an appointment with the cabinet company we're going to have do our cabinets. Before we went there, we had in our minds the kind of kitchen we wanted, which included white cabinets, wood floors, and slate-colored countertops. Kind of a blend between a modern and traditional look. But the cabinet company didn't have the bright white cabinets that we were looking for (bummer), but they did have these beautiful wood cabinets that had a distressed look in rustic mocha (love). I immediately was willing to change the theme of our kitchen around these cabinets. They have an inverted beveled edge, so hardware is not required if we don't want it and would help save us money. So, in a matter of minutes the theme for our kitchen went from modern to rustic. It will be similar to this picture with slightly lighter wood floors and dark counter tops:

(buzzle.com)

Finally, what's keeping me excited and dreaming at night, the 3-D picture (courtesy of Wilson Lumber) of how our final kitchen will be layed out:


Wanna come have a chat with me at the bar? =)

Monday, February 22, 2010

M-O-L-D is a 4-Letter Word

This past weekend my parents came up and helped us with the house. Hubby was still working on clearing out the kitchen so that we could put in new cabinets. Originally, we weren't considering new cabinets but rather just repaint the base and doors. However, I am so glad we're getting new cabinets because the water damage caused more mold than we originally thought.


However, the fun part of the kitchen gut is demo! My mom and I got to take out the tile backsplash along the wall. We each had a hammer and chisel and, with some finesse, pried off the tile pieces. I'm sure we each got out some stress in the process.


Sunday, February 7, 2010

New Layers

This weekend we had two main projects: remove the kitchen floor and paint! Both involve showing new layers. The entire kitchen and most of the dining room floors were taken off using an air hammer and chisel. My husband and brother-in-law worked on it all weekend (minus a couple hour break to go to the circus). The previous floors were glue-down engineered with tile inset.


The master bedroom was painted a seal gray, a major improvement from the eye-gauging red that was there before. My mother-in-law and father-in-law did the majority of the painting here and most of the rooms this weekend.


The first bedroom was painted a color called soft mint green. I was concerned of how bright it would be (and it is bright), but this color is meant to compliment my white bedroom set with purple bed covers and curtains later on.


My big project of the weekend was painting the outer squares in the mudroom which is the same color as our living room (a close resemblance to a "brown bag" color), the top has already been painted, too (swiss coffee). Also, the hallways was painted with swiss coffee (top) and brown bag (bottom).