Sunday, September 4, 2011

Lighten Up

When we took out a wall in the kitchen to make room for a counter-height bar, we didn't consider that we would have a color transition problem between the living room and kitchen.  We looked at that space for a long time, debating between putting a transition trim piece down the wall or simply letting the colors overlap.  After a long time of staring and talking, I looked at the living and decided, "There's too much brown in this room."  It's true.  From the wood crown molding, walnut floors, and stone fireplace, the brown paper bag color on the walls just made it feel like . . . we were in a brown paper bag. 

A (yellow) light clicked in my head.  "Let's paint the living room the same color as the kitchen!  That would solve the color transition problem."  We were set on this idea, but a took a long time for us to finally buy the paint and find the time to do it.  Even though I wasn't thrilled about repainting a room we painted when we moved in, I was excited about the contrast it would create and the brightness it would bring out. 

Beginning the first coat. 

Fireplace side. 

Color transition problem gone. 

Final coat.  I love the contrast! 

Now that the walls are brighter, I feel the need to add some wall art to decorate them.  We'll finally put up our pictures that have been sitting in storage or on the mantle.  I'll also be heading to a couple of antique stores in town in hopes of finding something rustic, like a piece of curved wrought iron or stone. 

Saturday, February 12, 2011

Finding Space

Shortly after the holidays, we took the time to clean out the garage so that we could both park our cars in it.  Also, we had a garage door company come out and level our door and install a new opener.  It's been so great during these snowy months in Alabama (yes, really) to not have to defrost the car before leaving for work. 

Example of snow that occurred on January 10, 2011.  We got 8 inches.  

Our 2-car garage actually functioning as a 2-car garage. 

It's actually taken some practice for me to park in the garage (I drive the SUV), because I had never had a garage in my life.  So we're looking into getting some hanging tennis balls or some other marker for me to aim for when I park. 

And now, the beast in action! 

Saturday, December 11, 2010

Shed Some Light

As promised, we have been busy with projects during this break time for Trey.  The first project we did this weekend was install recessed lighting in the kitchen.  We had always planned for this to be part of the kitchen, so we've been only using a small hanging light bulb to light up the whole kitchen.  We also took advantage of a visit from Trey's brother to help us with this project.  We decided to go with a 6" flush fluorescent clear light with white trim.  We put 10 of these lights in the kitchen and plan to put 2 above the fireplace later on.  But those are the logistics, now for the pictures!

Making holes for the lights above the bar.  Brother-in-law is stuck in the attic. 

Trey wiring the lights. 

Poor guy, he was there a long time.

Half-way done!

The finished product, cleaning up after the mess. 

We also installed a ceiling fan in the living room.  I chose an inverted frosted glass bowl with walnut blades and a rusted bronze finish.  The fan also comes with a remote, and the light dims into several levels.  It looks great! 


It looks great with the Christmas decorations. 

Things are starting to look a lot brighter around here . . .

Sunday, December 5, 2010

Decking the Halls

 This past week we decorated Home Sweet PROJECT Home for Christmas.  It's such an exciting thing for us to decorate this house that means so much to us already.  I can't believe that this time last year we were in the 30-day timeline to close on the house.  

We began with the tree.  We actually bought our tree and ornaments last year, and I wanted to have an all white and silver tree.  So we got a pre-lit LED tree with a bulk of plastic silver ornaments (because Roscoe and Missy's tails like to to knock off the ornaments).  And we topped it off with a silver star and a white tree skirt.  

The cats keep trying to make the tree skirt their bed.  Better put some presents under there fast. 

We also got a new ornament this year to commemorate the first Christmas in our new home: 


And I was so excited to able to put our stockings on our fireplace mantle this year.  Our stockings are meant to coordinate, kind of match and kind of not.  And they look so great on the fireplace, which is being used a lot! 

I think next year I will need to get some type of garland decoration to go around the mantle. 

And then we have several small things throughout the house, so it feels like Christmas everywhere you look.  

Ceramic light-up nativity scene on the bookshelf with Christmas tree and snowman candles. 
Christmas tree floormat and towels on the oven handle. 
And thanks to a generous offer from Shutterfly in collaboration with Blogger, we were able to get our Christmas cards done for free!  I love the personalization and the beautiful design of their cards.  We took our picture in front of the Christmas tree and put it in a gorgeous lace-detailed template.  See below for our picture and more information about the offer from Shutterfly. 

Vintage Lace Frame Christmas Card
Shop Shutterfly.com for elegant Christmas photo cards.
View the entire collection of cards.

Merry Christmas from all of us here at Home Sweet PROJECT Home!  

Monday, November 8, 2010

Two Doors Down

Thanks to our busy jobs and Trey taking two classes in grad school this past semester, we haven't done much on the house since the summer.  Hence, there haven't been any blog posts. 

However, we have managed to complete one project this past month that looks great!  We took the two solid-wood doors from the entrance in the great room and transformed them into bedroom doors for our bedroom and the back bedroom. 

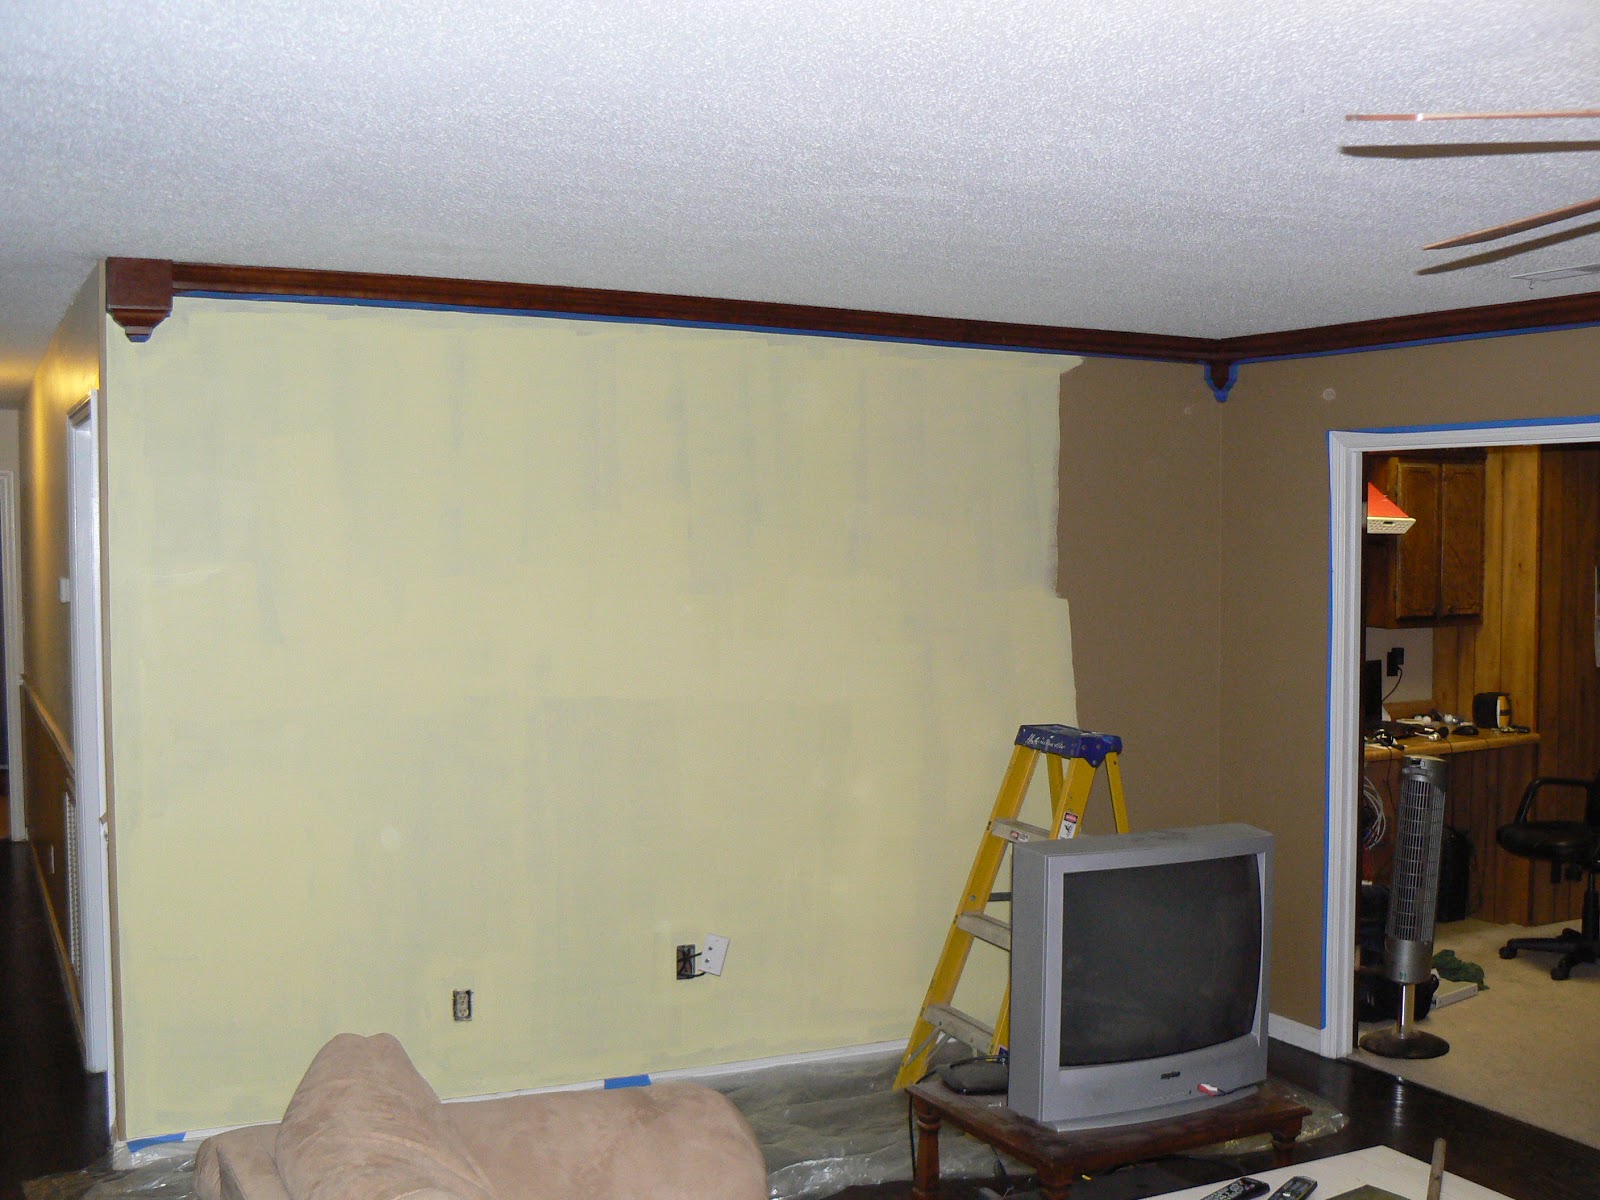
When Trey and I first started renovating the house, we decided to have as open a floor plan as we could (hence, the removal of a certain kitchen wall to create a bar).  So within our first week of renovating, I took off the double doors in the great room and set them aside.  Since they were solid-wood doors with a beautiful stain finish on them, we couldn't bring ourselves to throw them out. 

This is a picture from the inside of the great room when we first saw the house.  One of the double doors can be seen on the left. 
Due to some . . . conflicting style choices between us and the previous inhabitors of the house, we decided to toss two of the bedroom doors (one was painted a blood red--the same as the wall color in the master bedroom, and the other was baby pink with a matching hammer-head size hole).  So for the first 7 months that we lived in the house, we lived without a bedroom door.  This wasn't a big deal until we acquired a new addition to the family, Missy. 

Missy, the new addition, is the female lab/boxer on the right, not the slightly butchered stuffed monkey.
In training her to stay in the bedroom during the night (and to keep the cats out during the day), we needed a door.  So, we decided to start the process (i.e. "Trey, I have a project for you . . . ") of making two swing-open double doors into bedroom doors. 

You'd think making a door for one room into a door for another room would be simple, it's still a door.  However, the size and placement of the hinges made this project a little more complicated.  One of the doors was too wide to be a bedroom door, and it took several trips to the garage to shave off fractions of inches to get it fit.  Then, we needed to find a door knob template for inserting a hole that wasn't previously there (also, drilling through solid wood is a lot harder and takes more time than drilling through hollow wood.  who knew?!).  And, of course, switching the placement of the hinges. 

Trey switching the hinges on one of the doors in the back bedroom. 
But the final product is a beautiful, solid-wood door for the bedrooms.  The dense wood is also great at blocking the sound of the dishwaser churning away in the kitchen.  And I L-O-V-E the color combination of our bedroom walls (seal gray), white trim doorway, and dark wood door! 

The finished product.  Me likey! 
So that's what's been (not) happening here at Home Sweet PROJECT Home.  We've made great use of our fireplace over the past few chilly nights, so maybe a post coming up about that soon.  But we've got some projects on our TO DO list once Trey is done with school this semester, like putting recessed lighting in the kitchen and window coverings for our deck off of the master bedroom.  So stay tuned! 

Monday, July 5, 2010

A Very Berry Summer

This week we have found several berries along our back fence.  We definitely know that some are blackberries, but we're not quite sure what the blueberry/grape-type things are.  Here are some pictures of the black and red berries in our fence: 

We only picked the black ones.  

They are guarded by some nice foliage.  

They are also quite large, as referenced by the golf ball.  

Since these berry findings, we'd like to make the most of their produce next year by trimming up the plants where they grow and tend to them more.  This house and its yard is full of surprises. 

Wednesday, June 9, 2010

Lightning Strikes Tree in our Backyard


On June 1, 2010, a thunderstorm came through our city causing several lightning strikes, including one in our backyard (literally).  It split in several places, causing shards of wood to be thrown all over our yard.  

Big piece that broke off.  

Pieces all over our new landscaped area.  

Big piece right by the fence.  

Stuck in the fence.  

The beast itself.  

A piece that was held up in the ground by at least 3 inches. 

Perspective.  

Nice to know that Mother Nature like our house so much she wanted to make a visit.  =)